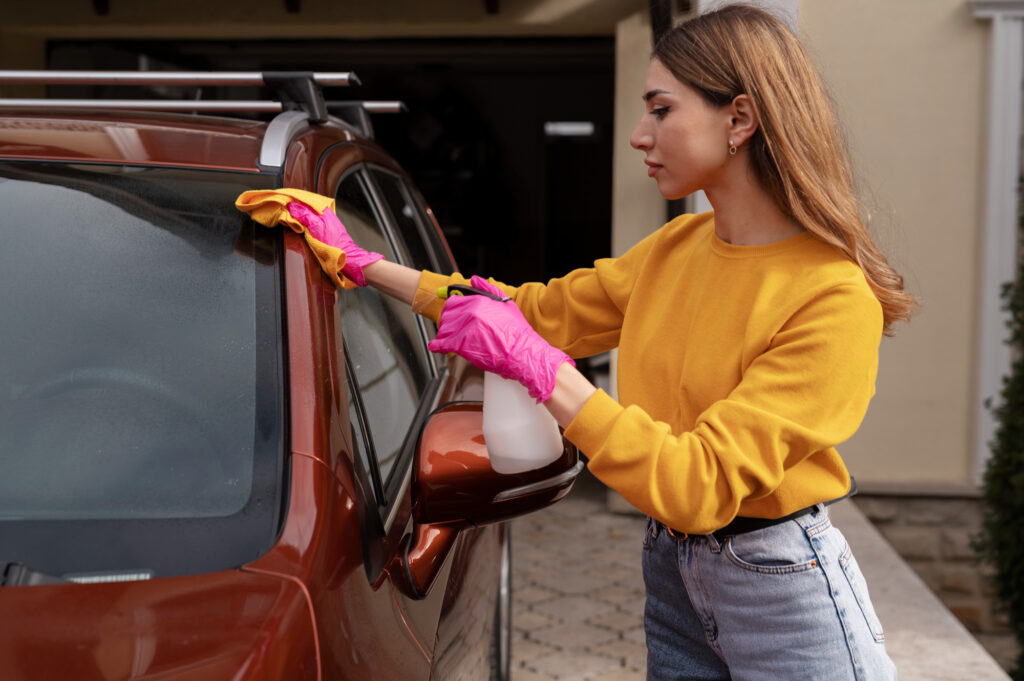
Some think that comprehensive car cleaning is only required before selling it. This way, one stands a better chance of finding a buyer.
However, car enthusiasts recommend dry cleaning of the entire vehicle at least every two years. Especially for the cars that have been exposed to aggressive elements, or upon buying biohazard cars on salvage stuff websites. A proper cleaning on the outside and inside will eliminate any harmful residues, dust mites, bacteria, and dirt.
In this article, we explain how to perform these cleanings yourself, efficiently and affordably.
Dry-Cleaning of the Exterior
Although the car body is not the most difficult surface to clean, it is often the most contaminated. Sometimes a thorough wet wash is not enough and the car requires more serious intervention, such as a dry cleaning.
Technically, dry cleaning may be required for a car with such types of contaminants and residues as:
- bitumen flecks;
- resin from poplar or birch buds;
- metal inclusions from road and block dust.
The impact of these contaminants varies between light and dark car coatings.
What does car dry cleaning involve? The dry-cleaning procedure of the exterior is divided into two steps – a standard car wash and dry cleaning itself.
Step 1. A Standard Wash
The process begins with a two-phase wash from wheel arch liners, wheels themselves, and up to chrome elements. Nothing too fancy here, just a regular, but thorough car wash to expose the presence of more serious contaminants.
Step 2. Applying a Composition of Chemicals
Then the bitumen, resin, or metal inclusions are removed from the car using a chemical composition that drivers can buy in specialized car shops.
Upon applying the composition, wait for 5–10 minutes and start washing off the product with broken-down contaminants using water and a car wash shampoo.
After cleaning, it is advisable to apply a car protective coating to the body, or at least a hard wax.
Dry-Cleaning of the Interior
To maintain the cleanliness of the car interior, you need a set of wiping accessories, ideally a washing vacuum cleaner, and, of course, auto chemicals.
To dry-clean the interior of your car, follow these steps:
Step 1. Remove Debris, Dust and Dirt
Use wipes to clean plastic surfaces thoroughly, and a vacuum cleaner to reach particles even between and under the seats. Don’t be surprised by what you find.
Step 2. Remove Stains from Seats and Carpets
Use any dry-cleaning chemical composition designated for automobile maintenance. It will penetrate deep into the textiles and eliminate stains, as well as particles of dust and dirt. Spray the product, leave it for a few minutes to start acting, and then wipe it with a damp sponge. You can always give it a final run with a vacuum cleaner to improve the result.
Step 3. Polish Surfaces
The plastic in the interior of your car requires special care. Use any polishing agent that will add shine and protect against microcracks and exposure to sunlight. A nice bonus is that you can choose your favorite flavor: lemon, vanilla, apple, orange, or coffee.
The Key Takeaways
As you can see, dry-cleaning your car inside and out is only difficult in theory, up until you try doing it yourself. To avoid any unintentional damage to your car, though, we recommend starting small, e.g., cleaning only one section of the exterior or interior first. Remember, regular maintenance will keep your car looking its best and extend its lifespan.

